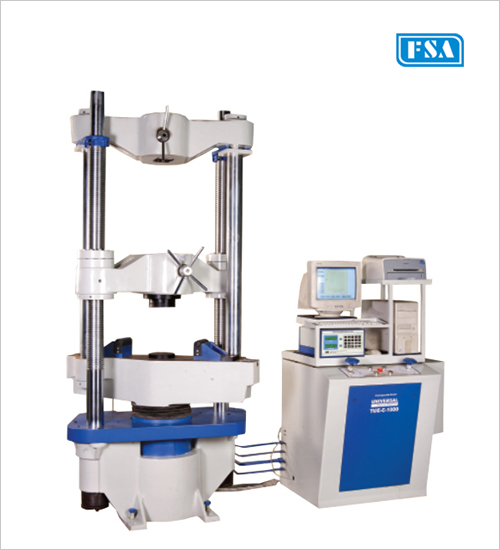
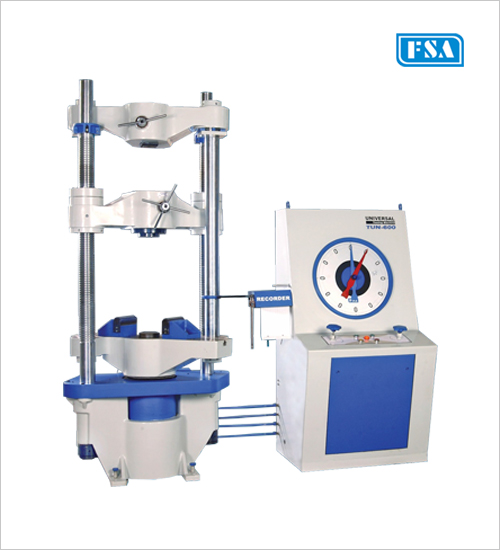
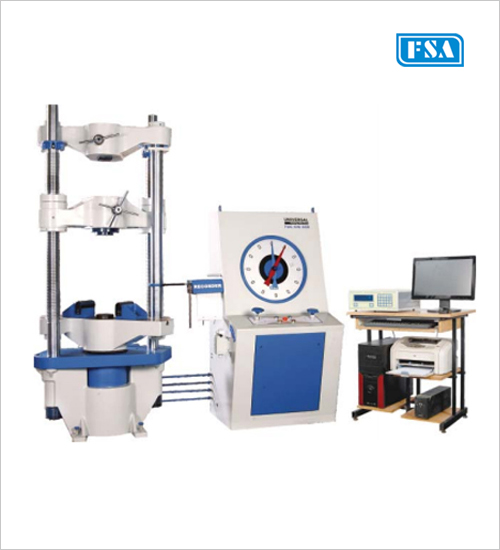
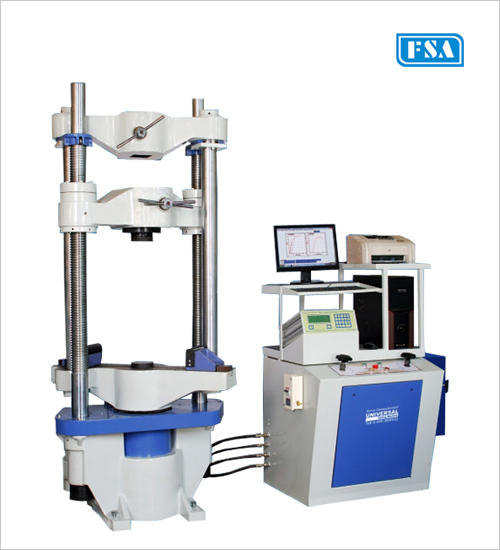
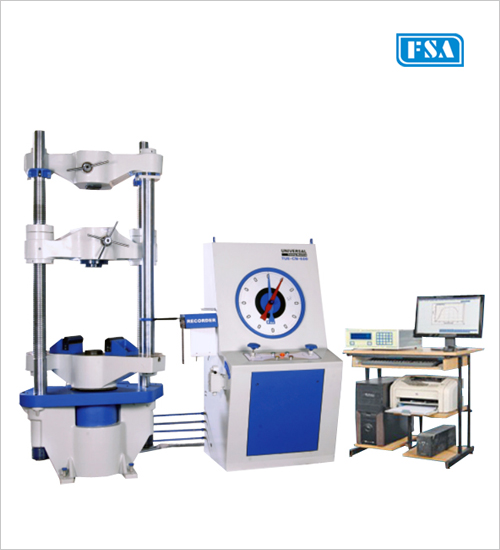
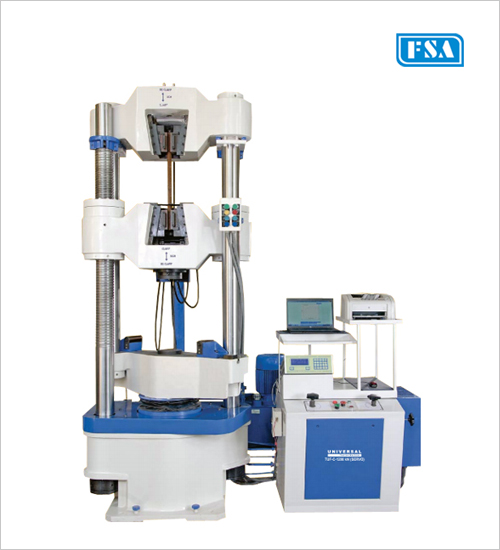
- • Automatic Data capture, storage & graphic display.
- • Recording, storage & retrieval of results & details.
- • On line display of load & extension.
- • Fully automatic, on screen calculations based on the delivered data.
- • Out put to digital printer of test data, test results & graphs.
- • Auto detection of over load, over travel & specimen break, on detection of the above conditions, the machine is automatically switched off
- • Load resolution – 0.01% of machine capacity for entire range.
- • Accurate and Users friendly software & all other facilities mentioned under Model : TUN.

Extra (Optional) Accessories Such As -
1. Electronic Extensometer ( Model : FEE-5 ) :
Measuring range upto 5mm & resolution of 0.001mm, with two fixed gauge lengths of 25mm & 50mm. This is specially used to measure proof stress & Young’s modulus values.
2. Automatic Load Rate Controllers :
While conducting any type of tensile test, it is very important to understand that the sample behaviour during test and the end results, to a great extent depend on the value and uniformity of stress rate during the test. Therefore most of the standards specify the stress rate while testing. This gives more uniform, reliable and comparable test results. Since cross section area of sample is known, required load rate for specified stress rate can be calculated. Servo based Motorized load rate controller applies automatic loading on the sample at a programmed rate of loading followed by maintaining the specified load constant for a specified time and then again load or unload at a programmed rate. Operating range is from 5% to 100% of full scale load per minute. Certain product test standards specify proof load test as above for products such as nuts / bolts / insulators etc and for such tests this accessory fitted to the machine is a must. The load rate control is achieved through a stepper motor controlled specially designed relief valve. The spring load on the spool of the relief valve increased at the set rate depending on the selected motor speed and thus rate of loading i.e. rate of increase of hydraulic system pressure is kept constant or variable as per programme given.The load rate can be controlled in the range – 3.5 kN /sec to 35 kN/sec for 1000 kN capacity machine. The minimum and maximum load rate will proportionately increase / decrease for higher / lower capacity machines i.e. for 100 kN machine it will be 0.35 kN /sec to 3.5 kN /sec.Within specified limits, the system keeps set load constant within ± 2% of the set value.
Straining Rate :
Our machine has a hydraulic cylinder for loading the specimen. Hence the test speed can be infinitely varied by means of flow control valve (Right Hand Valve). The speed can be varied from 0 to 300 mm / min ( for Ex - 100 kN Universal Testing Machine ). We shall show current test speed on computer monitor. Operator has to operate the Right hand Valve so that the current speed approaches to the desired test speed.
3. Load-Stabilizer, Attachments for Brinell test, Tensile test for shouldered and threaded, Single & Double shear test, Bolts-Nuts & Washer test, Rope test, Flat Belt test, Bend-Rebend test, 180° Bend test, Pull-Out test, etc. are available.
• Capacities from 100 kN to 2000 kN.
• Various Computerised Models - TUE-C-100, TUE-C-200, TUE-C-400, TUE-C-600, TUE-C-1000 & TUE-C-2000.
• Loading accuracy well within ±1% from 2% to 100% of capacity of the machine, conforms to IS:1828 / BS:1610.
Technical Specification for Computerised Versions
| Model | Tue-C-100 | Tue-C-200 | Tue-C-400 | Tue-C-600 | Tue-C-1000 | Tue-C-2000 |
| Measuring Capacity(kN) | 100 | 200 | 400 | 600 | 1000 | 2000 |
| Measuring Range (kN) | 0 - 100 | 0 - 200 | 0 - 400 | 0 - 600 | 0 - 1000 | 0 - 2000 |
| Least Count (kN) | 0.01 | 0.02 | 0.04 | 0.06 | 0.1 | 0.2 |
| Load Range in kN with accuracy of measurement ± 1% | 2 to 100 | 4 to 200 | 8 to 400 | 12 to 600 | 20 to 1000 | 40 to 2000 |
| Resolution of Piston Movement (mm) | 0.1 | 0.1 | 0.1 | 0.1 | 0.1 | 0.1 |
| Over all dimensions approx. (mm) | 1950 x 800 x 1850 | 2000 x 800 x 1900 | 2100 x 800 x 2060 | 2200 x 800 x 2400 | 2350 x 800 x 2700 | 3000 x 800 x 3600 |
| Weight approx. (kg.) | 1200 | 1300 | 2100 | 3100 | 4100 | 8500 |
Common Specification for all Versions
| Model | Tun-100 | Tun-200 | Tun-400 | Tun-600 | Tun-1000 | Tun-2000 |
| Measuring Capacity(kN) | 100 | 200 | 400 | 600 | 1000 | 2000 |
| Max. Tensile Clearance at fully decended piston position (mm) | 50 - 700 | 50 - 700 | 50 - 700 | 50 - 800 | 50 - 850 | 50 - 900 |
| Max. Clearance for Compression Test (mm) | 0 - 700 | 0 - 700 | 0 - 700 | 0 - 800 | 0 - 850 | 0 - 900 |
| Distance between columns (mm) | 450 | 500 | 500 | 600 | 750 | 850 |
| Piston Stroke (mm) | 150 | 200 | 200 | 250 | 250 | 300 |
| Max. straining speed at no load (mm/min) | 300 | 150 | 150 | 100 | 80 | 45 |
| Power Supply | 3 phase 415V 50Hz AC | |||||
| Total H.P. | 1.5 | 1.5 | 2.5 | 2.5 | 4.0 | 6.5 |
Standard Accessories for all Version
| Model | Tun-100 | Tun-200 | Tun-400 | Tun-600 | Tun-1000 | Tun-2000 |
| Pair for compression plate dia (mm) | 120 | 120 | 120 | 120 | 160 | 220 |
| Tension Test Jaws | ||||||
| For Round Specimen dia (mm) | 10 - 20 | 10 - 20 | 10 - 25 | 10 - 25 | 10 - 30 | 20 - 40 |
| For Round Specimen dia (mm) | 20 - 30 | 20 - 30 | 25 - 40 | 25 - 40 | 30 - 50 | 40 - 60 |
| For Round Specimen dia (mm) | - | - | - | 40 - 55 | 50 - 70 | 60 - 80 |
| For Flat Specimen Thickness (mm) | 0 - 10 | 0 - 10 | 0 - 15 | 0 - 15 | 0 - 22 | 0 - 22 |
| For Flat Specimen Thickness (mm) | 10 - 20 | 10 - 20 | 15 - 30 | 15 - 30 | 22 - 44 | 22 - 45 |
| For Flat Specimen Thickness (mm) | - | - | - | - | 44 - 65 | 45 - 70 |
| Max. width of Flat Specimen (mm) | 50 | 50 | 65 | 70 | 70 | 90 |
| Transverse Test | ||||||
| Adjustable Roller Support of width (mm) | 150 | 150 | 150 | 160 | 160 | 200 |
| Diameter (mm) | 30 | 30 | 30 | 50 | 50 | 70 |
| With Max. adjustable clearance (mm) | 450 | 500 | 500 | 600 | 800 | 900 |
| Punch tops of radius (mm) | 6 | 6 | 10 | 16 | 16 | 30 |
| Punch tops of radius (mm) | 12 | 12 | 16 | 22 | 22 | 40 |


